3.0 AIGraph4pg - Quick Start Documentation
These instructions are intended to help you deploy Azure PaaS Services and run this reference application on your workstation.
3.1 Recommended Skills
- Some programming language experience, especially with Python 3
- Some understanding of Python virtual environments
- Some understanding of Environment Variables
- Some command-line experience, Windows PowerShell or linux/macOS bash shell
There will be several steps to execute in this Quick Start, it is not a "one-click" deploy.
3.2 Workstation Requirements
- Windows 11 or recent Linux or macOS desktop operating system
- The git source-control system. See https://git-scm.com/
- The Azure CLI (i.e. - az). See https://learn.microsoft.com/en-us/cli/azure/
- An Azure Subscription
- Standard Python 3.12.x; not Conda or other distributions. See https://www.python.org/downloads/
- Visual Studio Code (VSC) or similar IDE/editor. See https://code.visualstudio.com/
- A PostgreSQL client program, such as psql. See https://www.postgresql.org/docs/current/app-psql.html
- A local/desktop PostgreSQL database installation. This is optional, but useful for learning the basics of PostgreSQL
- Docker Desktop. Optional, used only for executing the public DockerHub image.
3.3 Azure PaaS Services to Deploy
3.3.1 Azure PostgreSQL
- See the az/ directory in this repo
- Copy file az/provision-config-example.json to az/provision-config.json
- Edit the az/provision-config.json per your subscription. The entry names are self-explanatory
- Execute az login. See https://learn.microsoft.com/en-us/cli/azure/authenticate-azure-cli
- Execute the az/provision.ps1 script to provision your Azure PostgreSQL server
- Alternatively, provision this manually in Azure Portal.
- Enable the VECTOR and AGE extensions. See https://learn.microsoft.com/en-us/azure/postgresql/flexible-server/concepts-extensions
This reference application assumes that the name of your database is dev.
3.3.2 Azure OpenAI
- Recommended, for this project, to provision this manually in Azure Portal
- Create a text-embedding-ada-002 model deployment, for embeddings and vector search
- Create a gpt-4o model deployment, for generative AI of openCypher queries
3.4 A Note on Windows PowerShell and macOS bash Terminal
The remaining instructions on this page describe how you should execute command-line commands in either Windows PowerShell or the macOS Terminal program with the bash shell. These instructions are primarily Windows-based, but macOS is supported, too.
In the remaining documentation on this page, the relative directory location is shown for your reference. For example, in Windows PowerShell, when you are in the root directory of the GitHub project you'll see instructions like this:
Likewise, when you're in the python directory beneath the AIGraph4pg directory, the instructions will look like this:
The project directory structure looks like this:
Directory/File                       Description

├── az                           <-- az CLI deployment script for Azure PostgresSQL
├── data
│   ├── countries                <-- small dataset for script agefreighter_example.py
│   └── legal_cases              <-- the relational curated dataset for this repo, zipped
│       ├── graph_csv            <-- the graph curated dataset, csv files
├── docs                         <-- documentation in markdown format
├── jupyter                      <-- sample Jypyter notebook for AGE and the agefreighter library
├── pg_scripts                   <-- scripts for using PostgreSQL CLI programs, like pg_dump
└── python                       <-- the python3 implementation code for this project
    ├── agefreighter_example.py  <-- simple python program to load an AGE graph with agefreighter
    ├── docker-compose.yml       <-- yaml file used to run the web app with docker compose
    ├── Dockerfile               <-- file used to create the Docker image
    ├── dotenv_example           <-- example file for creating your optional .env file
    ├── main.py                  <-- the primary python "console application"
    ├── pg.ps1                   <-- script to run the psql program in an easy manner
    ├── requirements.in          <-- the python required libraries list, used by venv.ps1
    ├── set-env-vars-sample.ps1  <-- editable generated script used to set your environment variables
    ├── venv.ps1                 <-- powershell script to create your python virthal environment
    ├── webapp.ps1               <-- powershell script to start the web UI application
    ├── webapp.py                <-- web app implementation python file
    ├── sql                      <-- sql scripts, such as to delete/define the legal_cases table and indexes
    ├── src                      <-- primary python source code directory
    ├── static                   <-- static assets served by the web application
    ├── templates                <-- jinja2 templates for dynamic content generation; queries, prompts
    ├── tests                    <-- unit tests using the pytest testing framework
    ├── tmp                      <-- not in GitHub; manually create this directory yourself
    ├── venv                     <-- not in GitHub; this is the python virtual environment
    └── views                    <-- web UI html views/pages
3.5 Set the Environment Variables for this project
Per the Twelve-Factor App methodology, configuration is stored in environment variables.
3.5.1 List of enviroment variables
This reference implementation uses the following environment variables. They begin with the prefix AIG4PG_.
| Name | Description |
|---|---|
| AIG4PG_LLM_CONTEXT_MAX_NTOKENS | Optional. Defaults to 0, no truncation. |
| AIG4PG_LOG_LEVEL | See values in class LoggingLevelService - notset, debug, info, warning, error, or critical |
| AIG4PG_OPENAI_COMPLETIONS_DEP | The name of your Azure OpenAI completions deployment |
| AIG4PG_OPENAI_EMBEDDINGS_DEP | The name of your Azure OpenAI embeddings deployment |
| AIG4PG_OPENAI_KEY | The Key of your Azure OpenAI account |
| AIG4PG_OPENAI_URL | The URL of your Azure OpenAI account |
| AIG4PG_PG_AGE_GRAPH_NAME | The name of the PostgreSQL AGE graph |
| AIG4PG_PG_FLEX_DB | Azure PostgreSQL Flex Server database |
| AIG4PG_PG_FLEX_PASS | Azure PostgreSQL Flex Server user password |
| AIG4PG_PG_FLEX_PORT | Azure PostgreSQL Flex Server port |
| AIG4PG_PG_FLEX_SERVER | Azure PostgreSQL Flex Server hostname |
| AIG4PG_PG_FLEX_USER | Azure PostgreSQL Flex Server user |
| LOCAL_PG_PASS | Optional. Used by the psql.ps1/psql.sh scripts for local PostgreSQL access |
3.5.2 Setting these Environment Variables
The repo contains generated PowerShell script set-env-vars-sample.ps1 which sets all of these AIG4PG_ environment values. You may find it useful to edit and execute this script rather than set them manually on your system
3.5.3 python-dotenv
The python-dotenv library is used
in this implementation. It allows you to define environment variables in a
file named .env and thus can make it easier to use this project during local development.
Please see the dotenv_example files in each subapplication for examples.
It is important for you to have a .gitignore entry for the .env file so that application secrets don't get leaked into your source control system.
3.6 Clone the GitHub repo and create the Python Virtual Environment
These are one-time tasks in the use of this project.
3.6.1 Clone the Repo
This will copy the code, scripts, and curated data files to your computer.
> cd some-parent-directory-on-your-computer

> git clone https://github.com/cjoakim/aigraph4pg.git

> cd AIGraph4pg    <-- navigate into the project root directory
3.6.2 Create the Python Virtual Environment
A Python Virtual Environment is an isolated location on your computer containing a well-defined set of required libraries, defined in the requirements.in file. The libraries are downloaded from PyPi. The application code in this project then uses these Python libraries.
This is conceptually similar to NuGet (DotNet ecosystem), MavenCentral (Java ecocystem), NPM (Node.js and JavaScript ecosystem), etc..
AIGraph4pg> cd python

python>                   <-- You'll primarily use this directory in this project

python> .\venv.ps1

python> pip list          <-- pip is the library installer program; you'll see smilar output below

Package                              Version
------------------------------------ -----------
aenum                                3.1.15
agefreighter                         0.7.5
ageqrp                               0.1.0
     ... many lines omitted here ...
wsproto                              1.2.0
yarl                                 1.16.0
zipp                                 3.21.0
3.6.3 Activate the Python Virtual Environment (venv)
Each time you navigate to the python directory of this project and want to execute a python program you will need to "activate" the virtual environment, as shown below:
Notice how when the Virtual Environment is activated your shell prompt changes to have the (venv) prefix. This is a useful visual cue.
3.6.4 Windows 11 PowerShell
If you find this tedious to type often, you can optionally create an alias in your Microsoft.PowerShell_profile.ps1 file like the following.
With this alias, you simply have to type va (i.e - virtualenv activate) instead of typing out ".\venv\Scripts\Activate.ps1".
See https://learn.microsoft.com/en-us/powershell/scripting/learn/shell/creating-profiles?view=powershell-7.5
3.6.5 macOS bash shell
[~/AIGraph4pg]$ cd python
[~/AIGraph4pg/python]$ source venv/bin/activate
(venv) [~/AIGraph4pg/python]$
3.7 Prepare your Azure PostgreSQL Server
In a Windows PowerShell window navigate to the python\ directory of this repo, execute the following command to connect to the postgres database in your Azure PostgreSQL server.
This will put you into a psql terminal, connected to your Azure PostgreSQL server, per the several AIG4... environment variables you set above. Alternatively, you can use a desktop UI such as pgAdmin4 for these commands, but the documentation here assumes psql.
Your terminal prompt should now look like this, indicating that you are connected to the postgres database, and psql is awaiting a command.
Next, confirm the user, database, and host your psql terminal is connected to.
You can see the list of users with the \du command:
postgres=> \du
                                List of roles
   Role name    |                         Attributes
----------------+------------------------------------------------------------
 azure_pg_admin | Cannot login
 azuresu        | Superuser, Create role, Create DB, Replication, Bypass RLS
 chjoakim       | Create role, Create DB, Bypass RLS
 replication    | Replication
You can create and alter additional database users with these commands. In these examples, elsa is the user ID.
postgres=> create role elsa with createdb login password '<secret>';
postgres=> alter user elsa with password '<new-password>';
Next, list the databases in the server.
postgres=> SELECT datname FROM pg_catalog.pg_database;
      datname
-------------------
 azure_maintenance
 template1
 postgres
 azure_sys
 template0
 dev
(6 rows)
If the dev database is not present, create it as shown here. Replace chjoakim with your ID.
3.7.1 Configure the dev database
First, switch to the dev database with this command. Notice how the prompt changes to 'dev->'/
Enable the four PostgreSQL extensions that we'll use in this application with the CREATE EXTENSION command.
If you created your Azure PostgreSQL server manually, rather than with the az CLI script in this repo, you'll first have to enable these extensions as shown in this screen shot:
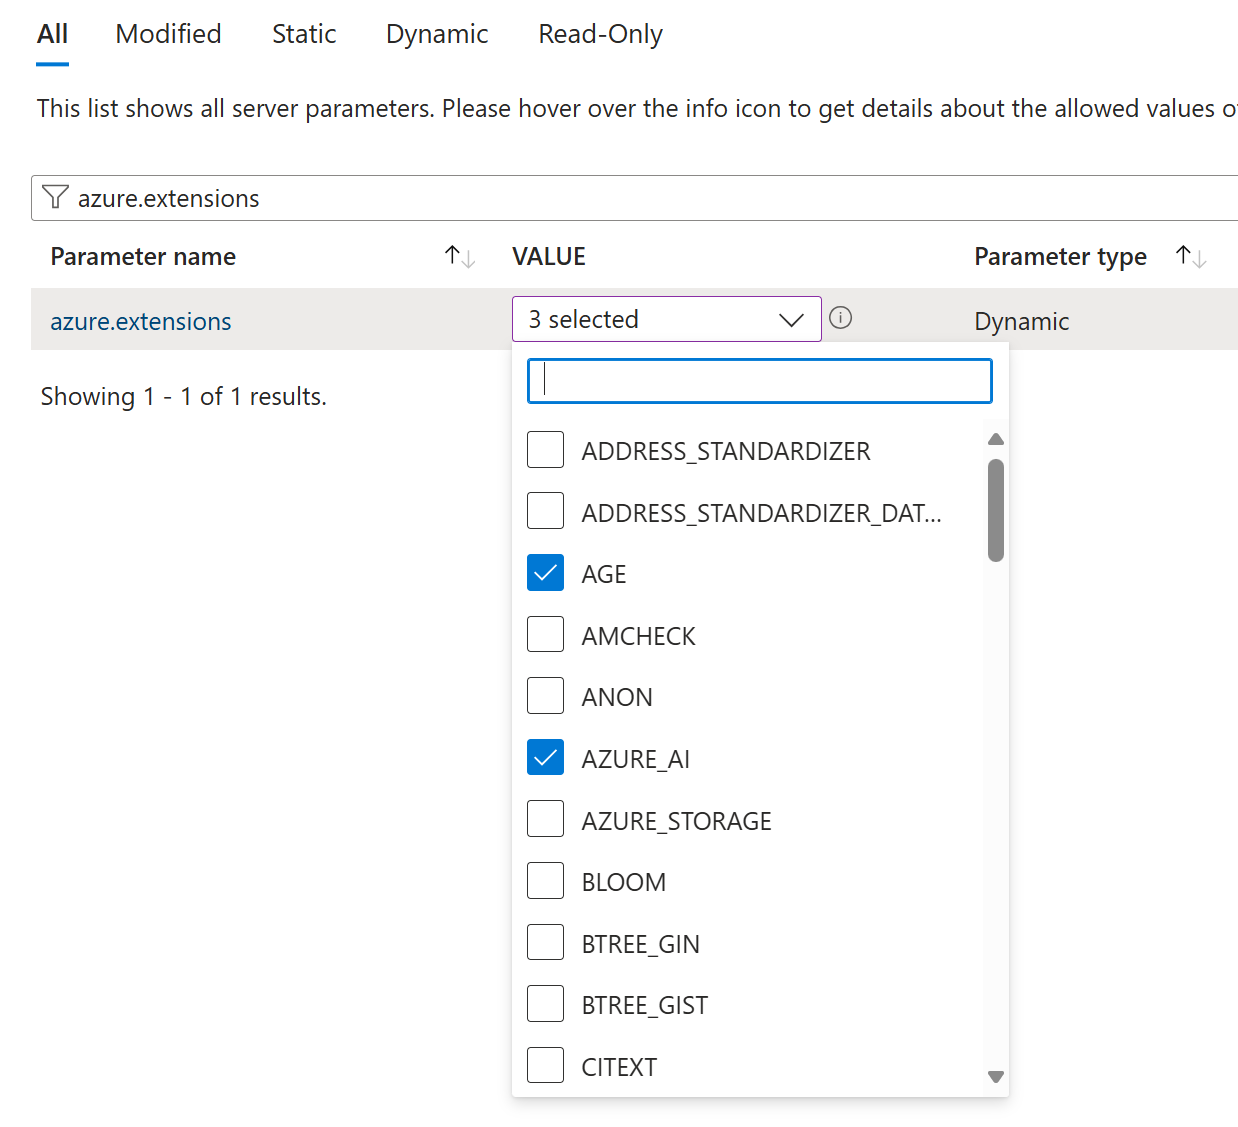
dev=> CREATE EXTENSION IF NOT EXISTS age CASCADE;
CREATE EXTENSION

dev=> CREATE EXTENSION IF NOT EXISTS vector CASCADE;
CREATE EXTENSION

dev=> CREATE EXTENSION IF NOT EXISTS PG_DISKANN CASCADE;
CREATE EXTENSION

dev=> CREATE EXTENSION IF NOT EXISTS AZURE_AI CASCADE;
CREATE EXTENSION
Verify that these extensions are created with this query. You should see similar output.
dev=> SELECT oid, extname FROM pg_extension order by extname;
  oid  |  extname
-------+------------
 25081 | age
 25687 | azure_ai
 25668 | pg_diskann
 14258 | plpgsql
 24760 | vector
(5 rows)
This is a similar query:
dev=> show azure.extensions;
        azure.extensions
--------------------------------
 AGE,VECTOR,PG_DISKANN,AZURE_AI
(1 row)
3.7.2 Configure the dev database for Apache AGE graphs
To make AGE functionality easier to use for a given user, you can set their default search_path as shown below. Replace chjoakim with your ID.
You can list the AGE graphs with this query. It should initially return zero rows.
dev=> SELECT * FROM ag_catalog.ag_graph;
 graphid | name | namespace
---------+------+-----------
(0 rows)
Create the Apache AGE legal_cases graph, enter this command:
List the AGE graphs again, and legal_cases should be in the list.
dev=> SELECT * FROM ag_catalog.ag_graph;
 graphid |    name     |  namespace
---------+-------------+-------------
   25768 | legal_cases | legal_cases
(1 row)
This graph can be dropped at a later date with this command, but don't do this now.
You can quit and close the psql program with the \q command. Notice how it puts you back into the original python\ directory and the virtual environment is activated as indicated with the (venv) prompt prefix.
3.8 Load Azure PostgreSQL with the Python Libraries Dataset
The dataset is a curated set of information on 10,000+ Python Libraries from web crawling and other tools. This dataset provides a foundation to demonstrate both traditional graph as well as vector search capabilities in Azure PostgreSQL.
The Python libraries have both dependencies and authors, and this graph can be traversed. Likewise, Python library data has rich text fields (descriptions, keywords) that showcase vector search.
It is hoped that this dataset is relatable to an IT audience, particularly application developers, and data scientists.
3.8.1 main.py
This is the Python program (i.e. - .py suffix) that implements the "console app" in this project. You can see its help content* by executing the following command. You should see similar output though some lines have been omitted in this documentation.
(venv) PS ...\python> python main.py help
...
Usage:
    python main.py log_defined_env_vars
    python main.py list_pg_extensions_and_settings
    python main.py delete_define_legal_cases_table
    python main.py query_legal_cases_table
    python main.py relational_search_case_id 594079
    python main.py load_age_graph_with_agefreighter <graph-naame> <do-load-bool>
    python main.py load_age_graph_with_agefreighter legal_cases_af1 true
    python main.py execute_graph_validation_queries legal_cases_af1
    python main.py vector_search_similar_cases 594079 10
    python main.py vector_search_words word1 word2 word3 etc
    python main.py vector_search_words Woolworth Co. v. City of Seattle
Display the several AIG4... environment variables with this command. Visually validate that they are correct (i.e. - pointing to your Azure PostgreSQL server, your Azure OpenAI service, etc.).
Edit and execute the set-env-vars-sample.ps1 script if the environment variables have no values, or incorrect values.
3.8.2 main.py - delete_define_libraries_table
Delete and recreate (i.e. 'delete-define') the legal_cases relational table with the following command. It uses file python/sql/legal_cases_ddl.sql in the repo.
In psql you can verify that the table and related indexes were created with the \d command.
dev=> \d legal_cases
                                          Table "public.legal_cases"
      Column       |          Type           | Collation | Nullable |                 Default
-------------------+-------------------------+-----------+----------+-----------------------------------------
 id                | bigint                  |           | not null | nextval('legal_cases_id_seq'::regclass)
 name              | character varying(1024) |           |          |
 name_abbreviation | character varying(1024) |           |          |
 case_url          | character varying(1024) |           |          |
 decision_date     | date                    |           |          |
 court_name        | character varying(1024) |           |          |
 citation_count    | integer                 |           |          |
 text_data         | text                    |           |          |
 json_data         | jsonb                   |           |          |
 embedding         | vector(1536)            |           |          |
Indexes:
    "legal_cases_pkey" PRIMARY KEY, btree (id)
    "idx_legal_cases_citation_count" btree (citation_count)
    "idx_legal_cases_court_name" btree (court_name)
    "idx_legal_cases_decision_date" btree (decision_date)
    "idx_legal_cases_diskann_embedding" diskann (embedding vector_cosine_ops)
    "idx_legal_cases_json_data_gin" gin (json_data)
    "idx_legal_cases_name_abbreviation" btree (name_abbreviation)
3.8.3 psql copy into the legal_cases table
The COPY protocol is very fast and efficient in PostgreSQL. We use it here to load the curated dataset in the repo.
Since this curated dataset is large, it is stored in the GitHub repo as a zip file: data/legal_cases/legal_cases.zip.
One way to do this is with Windows Explorer, select the zip file, right mouse, then Extract All... Alternatively, if you have Java installed, you can use the jar command.
PS ...\legal_cases> jar tvf .\legal_cases.zip
155009537 Mon Dec 09 10:48:22 EST 2024 legal_cases.sql
PS ...\legal_cases> jar xvf .\legal_cases.zip
 inflated: legal_cases.sql
The unzipped file is legal_cases.sql, which is used in the following COPY command in psql:
Your fully-qualiied-filename might look like the following. This output indicates that 2679 rows were loaded into the table.
dev=> \copy legal_cases FROM C:\Users\chjoakim\github\AIGraph4pg\data\legal_cases\legal_cases.sql DELIMITER E'\t'
COPY 2679
Execute this query in psql to confirm that the table does indeed contain 2679 rows.
3.8.5 Load the legal_cases AGE graph
This process is executed with python, rather than psql, with the following command:
(venv) PS ...\python> python main.py load_age_graph_with_agefreighter legal_cases true
2025-02-10 17:22:22,035 - Running on Windows, setting WindowsSelectorEventLoopPolicy
2025-02-10 17:22:22,036 - DBService#initialze_pool creating new...
...
2025-02-10 17:22:22,439 - AGEGraphLoader#load_legal_cases_dataset: legal_cases True
2025-02-10 17:22:22,440 - freighter: <agefreighter.multicsvfreighter.MultiCSVFreighter object at 0x0000021B15073B60>
2025-02-10 17:22:22,906 - freighter connected: <agefreighter.multicsvfreighter.MultiCSVFreighter object at 0x0000021B15073B60>
2025-02-10 17:22:25,358 - freighter loaded
2025-02-10 17:22:25,358 - closing freighter...
2025-02-10 17:22:25,358 - closed
2025-02-10 17:22:25,359 - AGEGraphLoader#execute_validation_queries: legal_cases
2025-02-10 17:22:25,359 - DBService#execute_query, stmt: select graphid, name, namespace from ag_catalog.ag_graph order by graphid;
[33990, 'legal_cases', 'legal_cases']
2025-02-10 17:22:25,460 - DBService#execute_query, stmt: select * from ag_catalog.cypher('legal_cases', $$ MATCH (n) RETURN count(n) as count $$) as (v agtype);
2679
2025-02-10 17:22:25,565 - DBService#execute_query, stmt: select * from ag_catalog.cypher('legal_cases', $$ MATCH ()-[r]->() RETURN count(r) as count $$) as (e agtype);
15998
2025-02-10 17:22:25,684 - DBService#execute_query, stmt: select * from ag_catalog.cypher('legal_cases', $$ MATCH (c) RETURN c limit 3 $$) as (v agtype);
{'id': 844424930131969, 'label': 'Case', 'properties': {'id': '1017660', 'name': 'United Mutual Savings Bank v. Riebli', 'court': 'Washington Supreme Court', 'case_url': 'https://static.case.law/wash-2d/55/cases/0816-01.json', 'decision_year': '1960', 'citation_count': '14'}}
{'id': 844424930131970, 'label': 'Case', 'properties': {'id': '594079', 'name': 'Martindale Clothing Co. v. Spokane & Eastern Trust Co.', 'court': 'Washington Supreme Court', 'case_url': 'https://static.case.law/wash/79/cases/0643-01.json', 'decision_year': '1914', 'citation_count': '5'}}
{'id': 844424930131971, 'label': 'Case', 'properties': {'id': '552848', 'name': 'Lynch v. Ninemire Packing Co.', 'court': 'Washington Supreme Court', 'case_url': 'https://static.case.law/wash/63/cases/0423-01.json', 'decision_year': '1911', 'citation_count': '7'}}
2025-02-10 17:22:25,794 - DBService#execute_query, stmt: select * from ag_catalog.cypher('legal_cases', $$ MATCH ()-[r]-() RETURN r limit 3 $$) as (r agtype);
{'id': 1125899906842625, 'label': 'cites', 'end_id': 844424930131970, 'start_id': 844424930131969, 'properties': {'case_id': '1017660', 'other_id': '594079', 'case_name': 'United Mutual Savings Bank v. Riebli', 'case_year': '1960', 'other_name': 'Martindale Clothing Co. v. Spokane & Eastern Trust Co.', 'other_year': '1914'}}
{'id': 1407374883553281, 'label': 'cited_by', 'end_id': 844424930131969, 'start_id': 844424930131970, 'properties': {'case_id': '594079', 'other_id': '1017660', 'case_name': 'Martindale Clothing Co. v. Spokane & Eastern Trust Co.', 'case_year': '1914', 'other_name': 'United Mutual Savings Bank v. Riebli', 'other_year': '1960'}}
{'id': 1125899906842626, 'label': 'cites', 'end_id': 844424930131971, 'start_id': 844424930131969, 'properties': {'case_id': '1017660', 'other_id': '552848', 'case_name': 'United Mutual Savings Bank v. Riebli', 'case_year': '1960', 'other_name': 'Lynch v. Ninemire Packing Co.', 'other_year': '1911'}}
2025-02-10 17:22:25,907 - DBService#close_pool, closing...
2025-02-10 17:22:25,908 - DBService#close_pool, closed
This output shows that 2679 vertices and 15998 edges were loaded into the graph.
The output also contains several validation queries which display several vertices and edges in the AGE graph.
This Apache AGE graph loading functionality is implemented here with the agefreighter python library. Notice how the above loading of 2679 vertices and 15998 edges only took 2.919 seconds from a laptop and home network (pertinent log lines shown below).
2025-02-10 17:22:22,439 - AGEGraphLoader#load_legal_cases_dataset: legal_cases True
2025-02-10 17:22:22,440 - freighter: <agefreighter.multicsvfreighter.MultiCSVFreighter object at 0x0000021B15073B60>
2025-02-10 17:22:22,906 - freighter connected: <agefreighter.multicsvfreighter.MultiCSVFreighter object at 0x0000021B15073B60>
2025-02-10 17:22:25,358 - freighter loaded
3.9 Run the Web Application on your computer
Now that you've loaded both the relational and Apache AGE graph data into your Azure PostgreSQL server, you can access it with a web application which provides a User Interface (UI).
The web application is intended to run locally, but you may wish to deploy it to Azure, such as to Azure Container Apps (ACA). This deployment process is easy, but is out-of-scope for this tutorial and reference application. You can read more about Azure Container Apps here: https://learn.microsoft.com/en-us/azure/container-apps/
3.9.1 Run as a Python process
Simply run the webapp.ps1 script in the \python directory as shown below:
(venv) PS ...\python> .\webapp.ps1
activating the venv ...
Python 3.12.9
2025-02-10 09:35:41,406 - Windows platform detected, setting WindowsSelectorEventLoopPolicy
2025-02-10 09:35:41,407 - webapp.py started
2025-02-10 09:35:43,920 - Windows platform detected, setting WindowsSelectorEventLoopPolicy
2025-02-10 09:35:43,921 - webapp.py started
2025-02-10 09:35:43,926 - log_defined_env_vars: {
  "AIG4PG_LLM_CONTEXT_MAX_NTOKENS": "10000",
  "AIG4PG_LOG_LEVEL": "info",

...

2025-02-10 09:35:44,301 - DBService#initialze_pool, pool opened
[2025-02-10 09:35:44 -0500] [6880] [INFO] Running on http://127.0.0.1:8000 (CTRL + C to quit)
2025-02-10 09:35:44,752 - Running on http://127.0.0.1:8000 (CTRL + C to quit)
You should see logging output similar to the above.
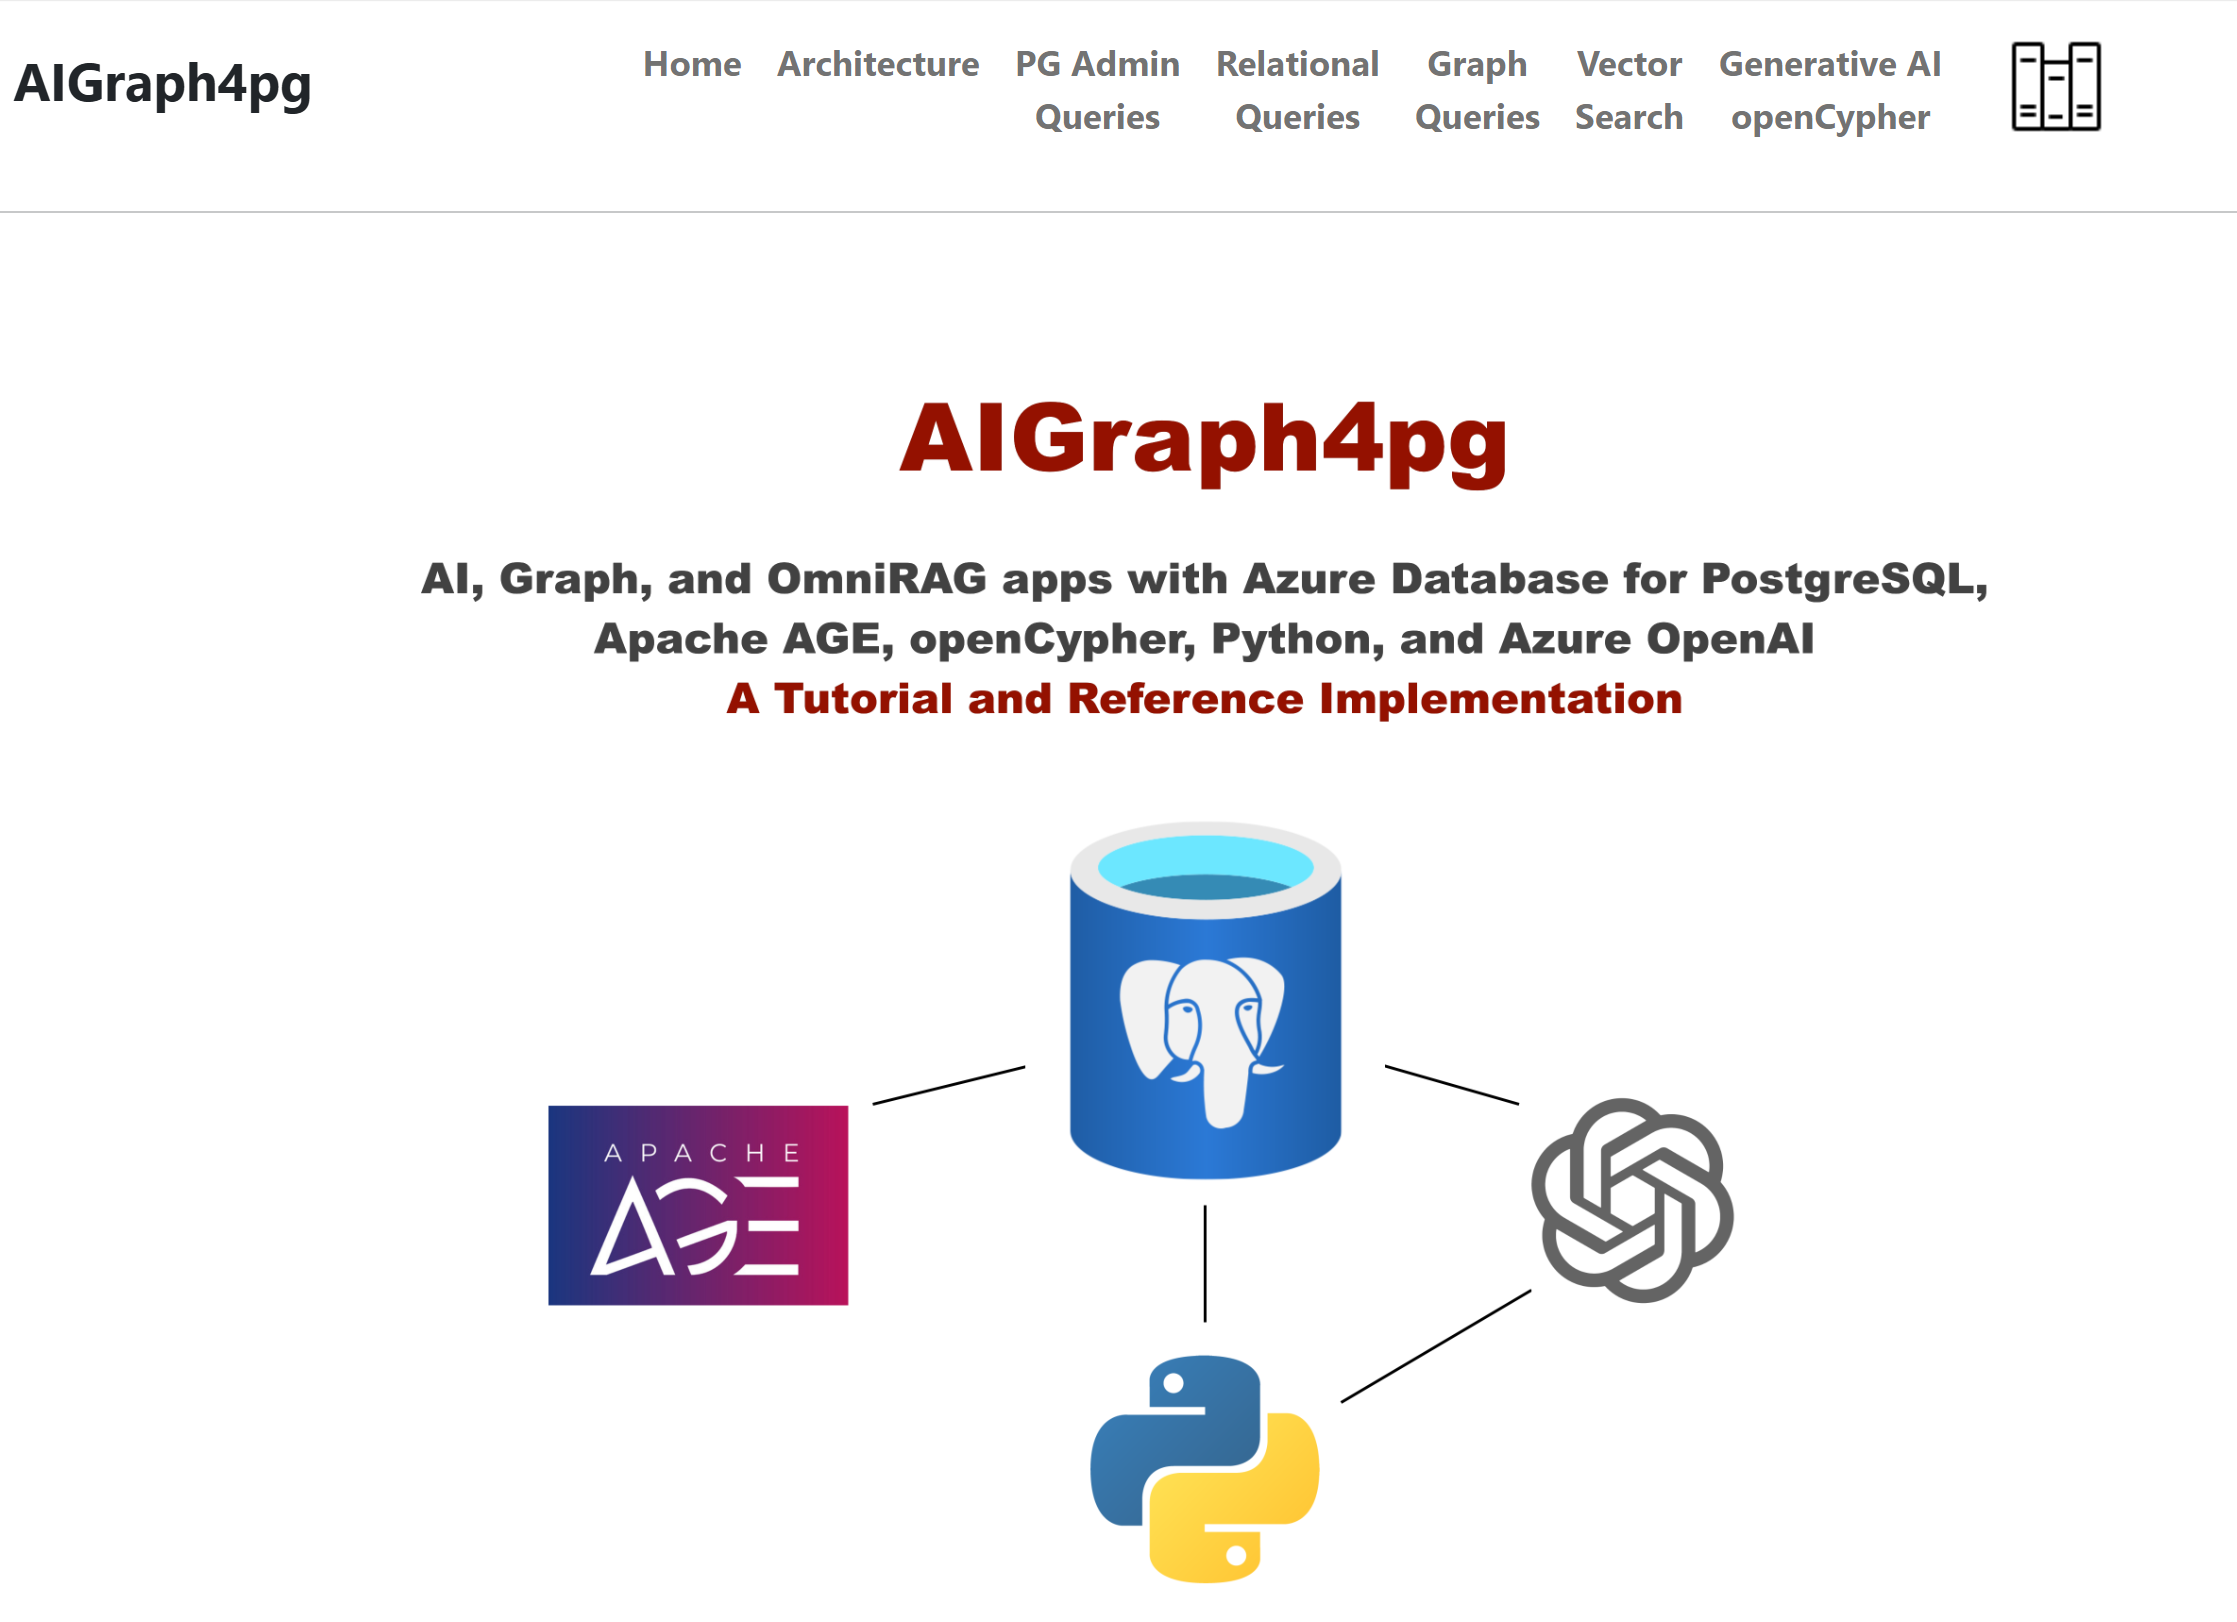
Visit http://127.0.0.1:8000 with your browser. You should then see the home page of the UI
3.9.2 Run as a Docker container
This UI application can also be executed as a Docker container on your desktop with docker compose. See the Docker Compose docs for more info.
See the python/docker-compose.yml file, and edit it as necessary. Docker Compose works with environment variables, which are passed in from your computer into the running container.
In one PowerShell tab in the \python directory, enter this command:
This will download and execute the cjoakim/aigraph4pg:latest image that is hosted at Docker Hub.
Open to your web browser to URL http://127.0.0.1:8000 or http://localhost:8000 to see the home page of the applicaton, which looks like this:
In another PowerShell tab, also in the \python directory, enter this command when you want to stop the application.